In this After Effects training series we will cover a multitude of techniques on how to take green screen footage and replace it will a full 3d set. By the end of this series you will have an understanding of how to direct your shots in anticipation of replacing it with a virtual set and gain the tools and techniques to make your shots feel like its in a real environment.
With over 3 hours of training, we will cover such things as cover motion tracking, green screen removal, lightsaber fx, color correction, digital sets and much more.
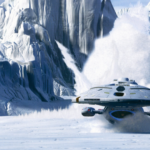
Tutorial 1: Setting Up The Scene
In this video I will show how to set up the scene for 3d sets. Use the video footage provided to follow along or, using this videos guidelines, shoot your own footage.
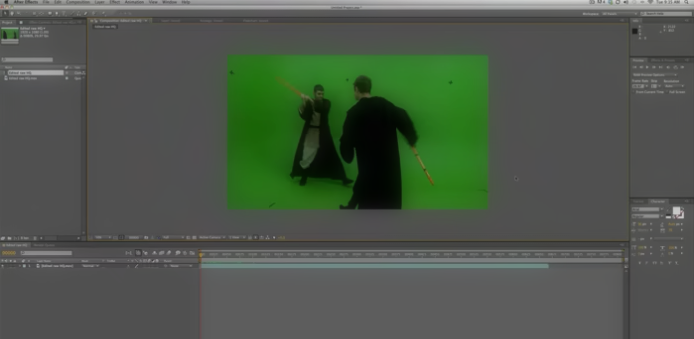
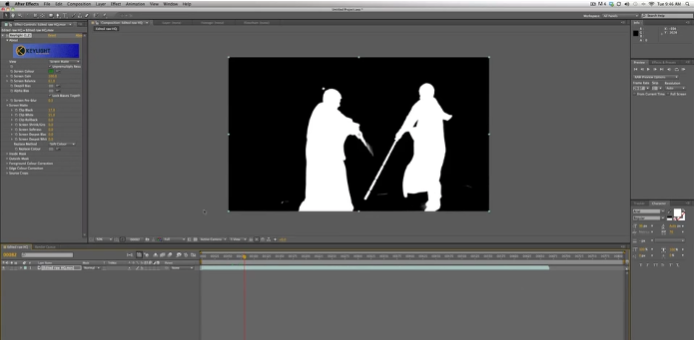
Tutorial 2: Replacing Greenscreen
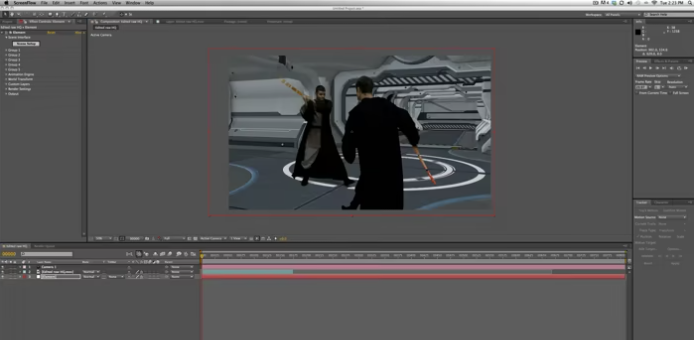
In this tutorial, learn how to properly replace green screen using After Effects Keylight. Additionally, I’ll show you how to import 3d sets with element 3d. I will also show how to set up the scene with a 2D image.
Tutorial 3: Tracking
Learn how to track your green screen footage using Adobe’s built in tracking system. Also, this video will show how to cheat depth of field when using only a 2d image.
Tutorial 4: Color Correction
Color correction is key to making your shots look believable. In this tutorial lean how to color correct your scene so the actors look like they are on the virtual set.
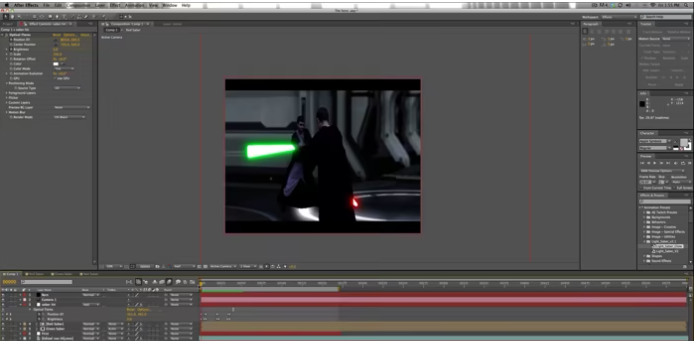
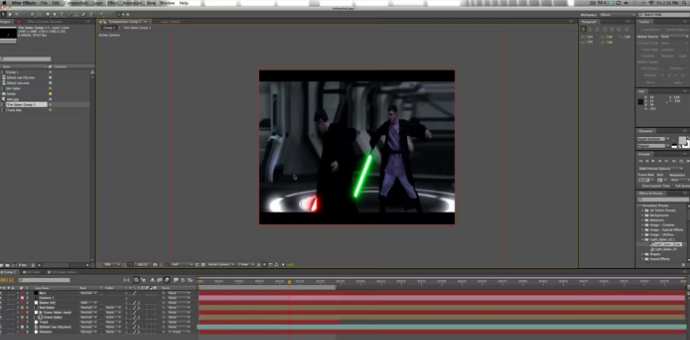
Tutorial 5: Rotoscoping
Learn how to create a light-saber effect using rotoscoping inside After Effects. We can achieve this realistic result with the help of a free plugin.
Tutorial 6: Finalization
In this tutorial I will cover all the final steps to create the end results. This includes lens flares, lighting, shadows, and more.